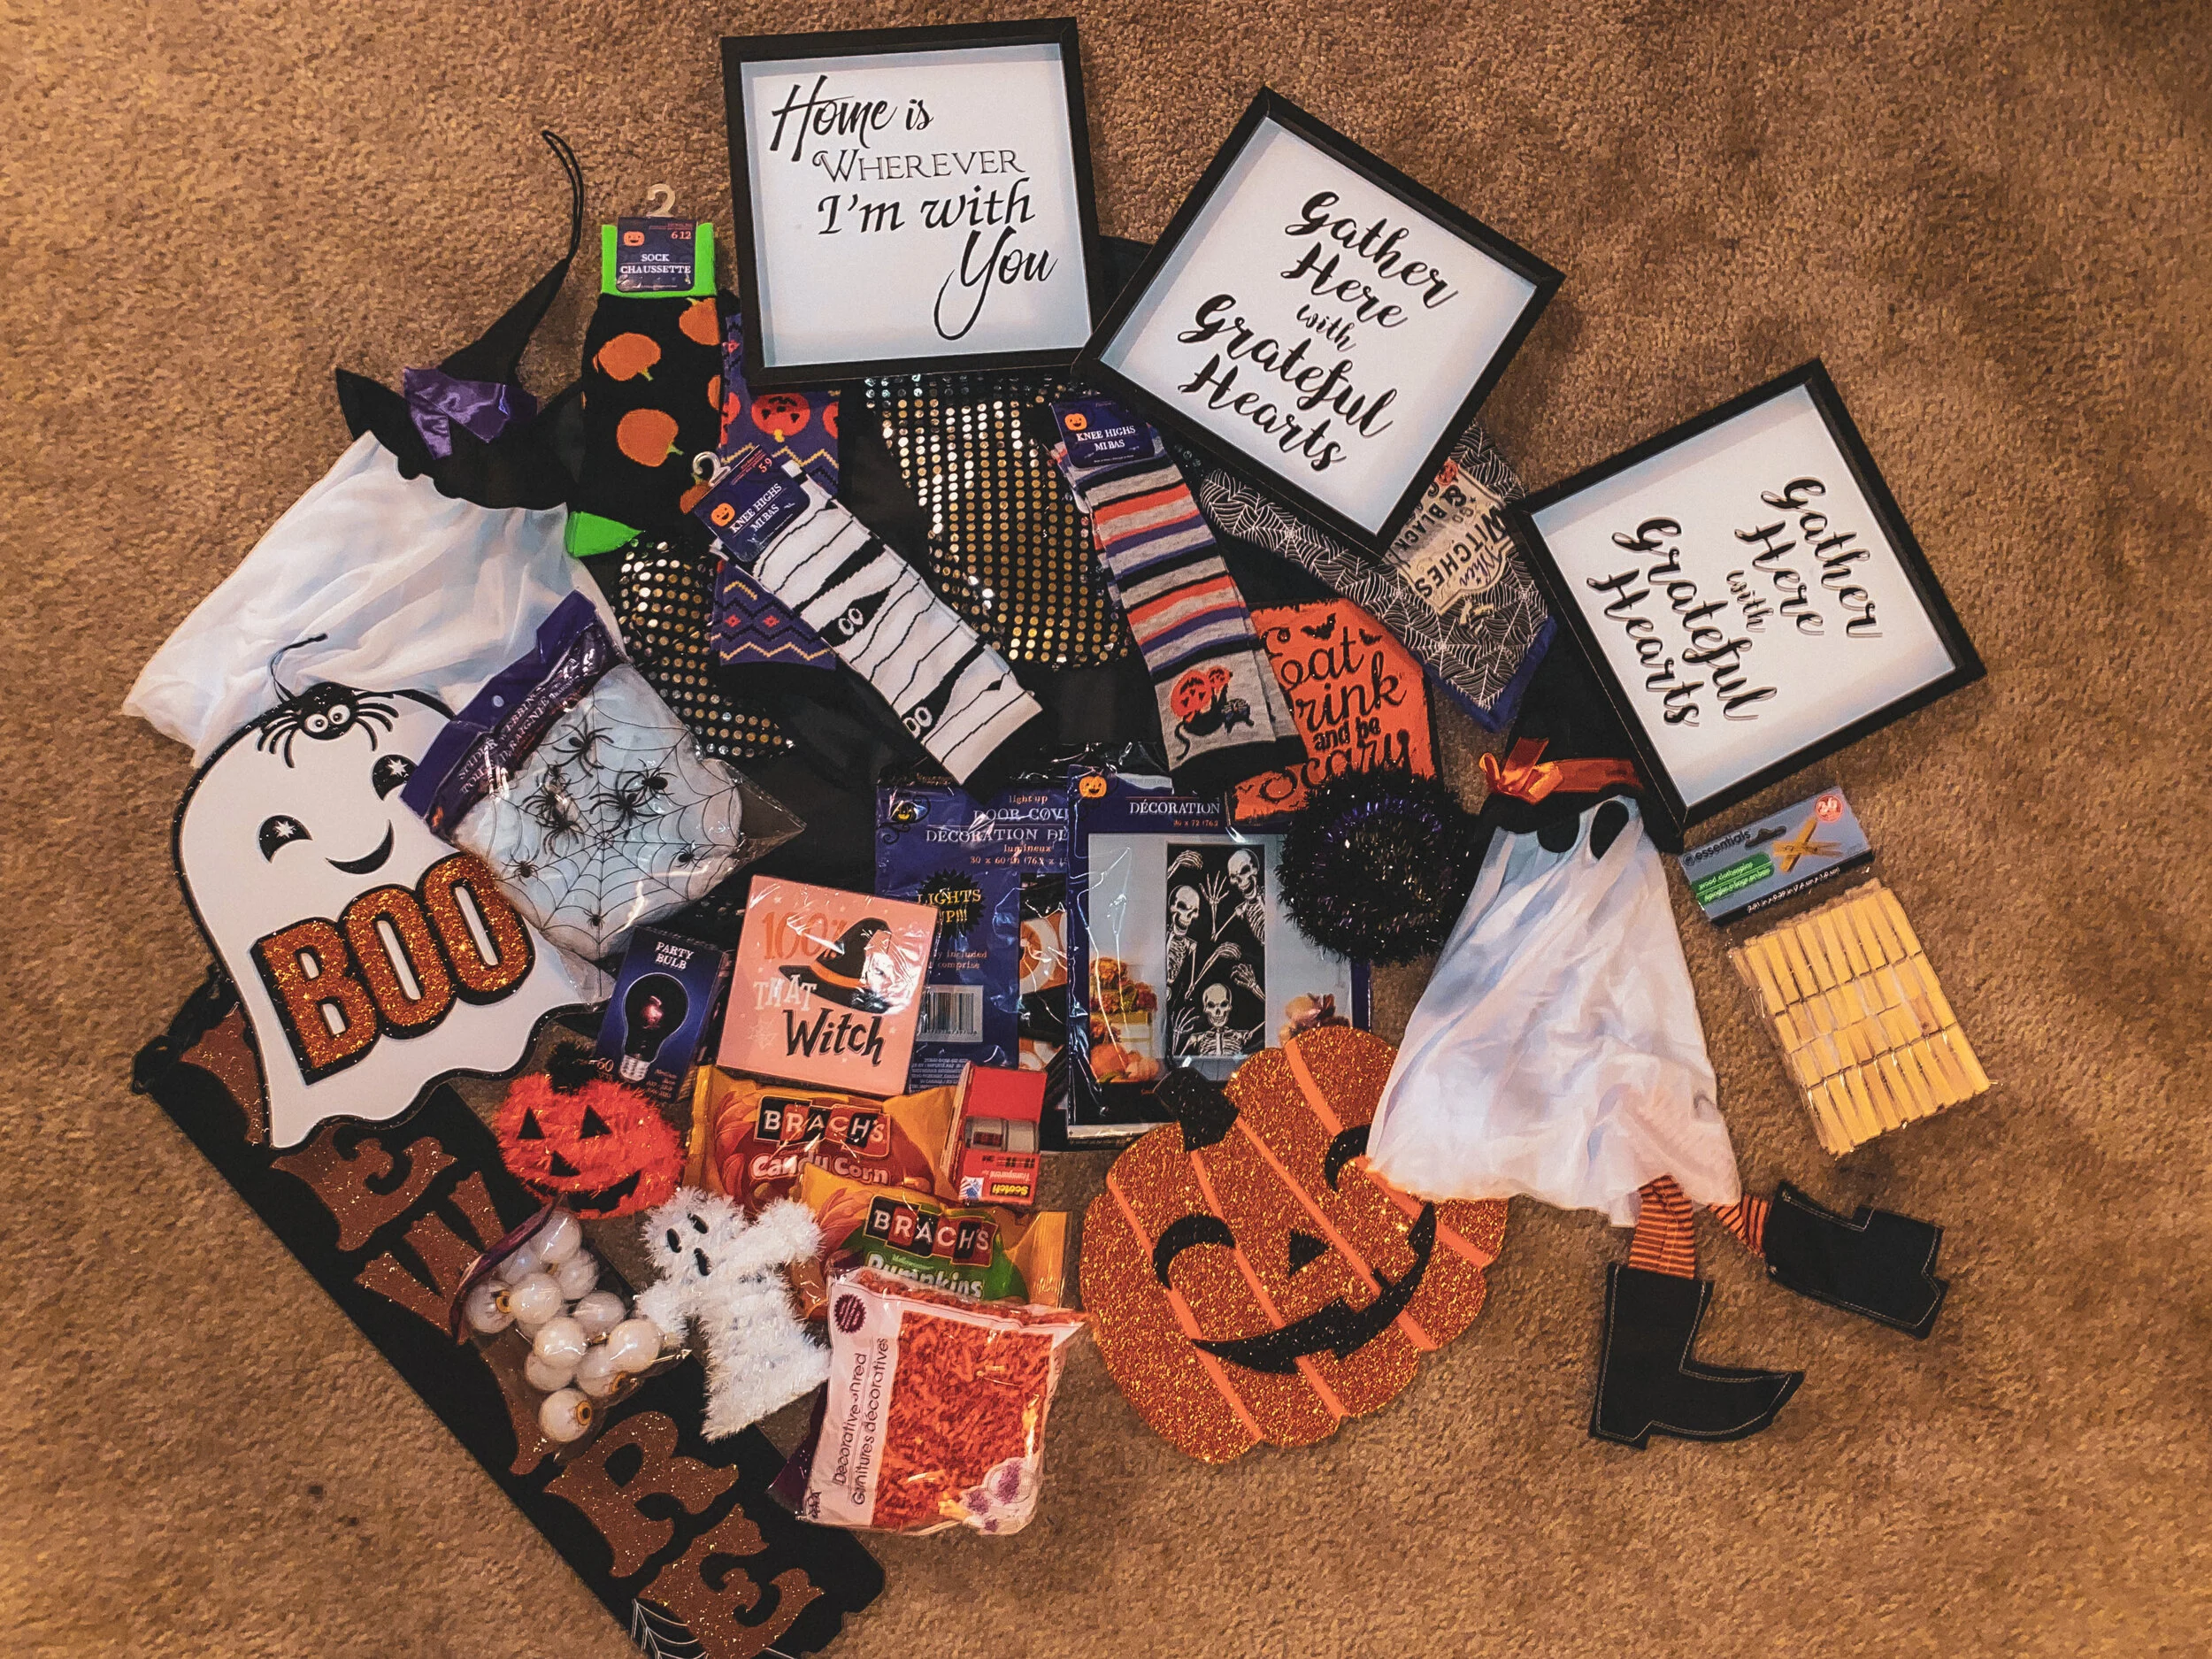
Dollar Tree Halloween Decorating!
That’s right, this frugal babe just made her apartment extra spooky using ordinary objects from the Dollar Tree! Do you want to know what the best part is? I spent less than $40!
I’m actually so proud of how well my apartment turned out. Usually, I get Dollar Tree decorations, but end up with a house that looks cheap. This year, I did my research in advance, created my mood boards, and went into Dollar Tree with a specific vision in my head of how I wanted my apartment to end up. Doing this helped me turn cheap finds into a Bobby Berk-approved spooky space.
Here’s how I did it:
Step 1 - Seek Inspiration
As I often do, I turned to Pinterest and Instagram to get decorating inspiration. I made my boards via Pinterest and even built a “Halloween” collection in my Saved folders on Instagram. Some of my favorite accounts to look at for inspiration were @apartmenttherapy, @halloweencountdown, and @halloween_decor_.
These accounts gave me such major inspo that I even mimicked this post from Apartment Therapy because I loved it so much!
Step 2 - Learn How to DIY
I’ve seen so many DIY hacks that aren’t worth all the trouble and time that goes into them, so it took me a while to actually find something fruitful.
I hit the DIY jackpot when I stumbled upon the sub-genre of women who exclusively make videos on how to upscale products found at cheap stores like Dollar Tree and the 99 Cents Store! My favorite YouTuber in this realm has got to be Chic on the Cheap.
I got hooked when I watched her video “Dollar Tree DIY’s Halloween Jackpot *NEW* 2020.” This one video alone gave me inspiration for multiple decor elements in my apartment. Mainly, my spooky candles and boo-tiful artwork above my TV in the living room.
Step 3 - Shop Till You Drop (Dead)
So, maybe I made Arjuna’s arms a little sore from carrying all of the stuff I bought, but that’s what boyfriends are for, right?
I had so much fun going through Dollar Tree and hunting for the perfect Halloween decor items. I found cute signage, adorable ghosts, and the perfect witch hats to hang from the ceiling. I was even able to find a couple of items Chic on the Cheap used in her videos, which worked out just as well as she said they would. Even with how overboard I went on my shopping here, I still spent around $30 on decor, which means I got just under 30 items! SCORE!
Step 4 - DIY
While some pieces were standalone, like my little ghost friend and witch hats, other items, like the black candles and wall art needed to be reworked. First, I tackled the candles since they were the easiest. I found the links to some free, spooky, candle label printables, picked out my favorites, and had them printed. The worst part about this was trying to get the original label off of the candle, but with the help of my good friend Goo Gone, those labels didn’t stand a chance. All that was left was to cut out the new labels, and gorilla glue them onto the candle. Sooo easy and so cute! It looks like I spent $15 on these when I really only spent $1.25 (because I went to print the labels at Staples since no Borderline Millennial actually owns their own printer, duh!).
Next up was the wall art. I clicked around on the internet to find some good, free art, but I’m so picky and didn’t like anything I found. So, I did what any other creative would do and created my own. I designed my own wall art, and got those printed in the exact dimensions of the frame, and glued them right on top of the original artwork in the frame. Boom, three bucks later and I’ve got three, spooktacular wall art pieces.
Step 5 - Decorate
This was the fun part! Arjuna, my roommate Melissa, and I all got together one evening and threw the decorations up. We hung the witch hats and some ghosts on the ceiling put up the wall art and added mason jars filled with candy corn and fake eyeballs all over the side tables. I’m truly making Halloween the new Christmas because decorating with your friends and family shouldn’t be reserved for the sixth-last day of the year!
Here’s a little TikTok of how the apartment turned out! Let me know what you think of the finished apartment in the comments below! And while you’re at it, be sure to follow Borderline Millennials on TikTok!


